Have you ever wondered why more people are turning to crafting their own soap? Beyond the satisfaction of creating something useful, it’s a step toward self-reliance and a healthier lifestyle. Imagine filling your home with the soothing scents of essential oils while knowing exactly what goes into every bar.
Creating soap at home is more than just a practical skill—it’s a creative journey. Like baking bread or repainting a room, it’s a process that rewards effort with tangible results. The cold process method, for example, allows you to craft bars tailored to your preferences, from the oils used to the fragrances added.
This guide will walk you through every step, from selecting the right olive oil to mastering the lye mixture.
Key Takeaways
- Creating soap at home enhances self-sufficiency and survival skills.
- The process is meditative and offers creative satisfaction.
- Homemade soap allows for customization with essential oils and fragrances.
- It’s a cost-effective alternative to store-bought options.
- This guide covers everything from ingredients to advanced techniques.
Introduction to Homemade Soap Making
Soap making has evolved from a necessity to a cherished hobby for many. It’s a craft that combines science and creativity, offering a rewarding experience for beginners and seasoned makers alike. This guide will walk you through the process, from selecting the right oil to mastering the lye mixture, ensuring you create bars that are both functional and luxurious.

One of the key benefits of crafting your own soap is the ability to control the ingredients. Unlike store-bought options, you can choose high-quality oils and add essential oils for a personalized touch. This not only enhances the scent but also ensures your skin receives the best care.
Safety is paramount when working with lye, a crucial component in the cold process method. Always handle it with care, using protective gear and following precise measurements. A well-prepared batch requires attention to detail, from the temperature of the mixture to the container used for curing.
Historically, soap making was a communal activity, often using natural lye sources like wood ash. Today, it’s a way to connect with tradition while embracing modern techniques. Whether you’re creating a simple soap recipe or experimenting with advanced methods, the journey is as fulfilling as the result.
This article will provide practical tips and step-by-step instructions to help you master the art of soap making. From choosing the right mold to perfecting the process, you’ll gain the confidence to create bars that reflect your style and preferences.
=> Create Powerful Disinfectants at Home
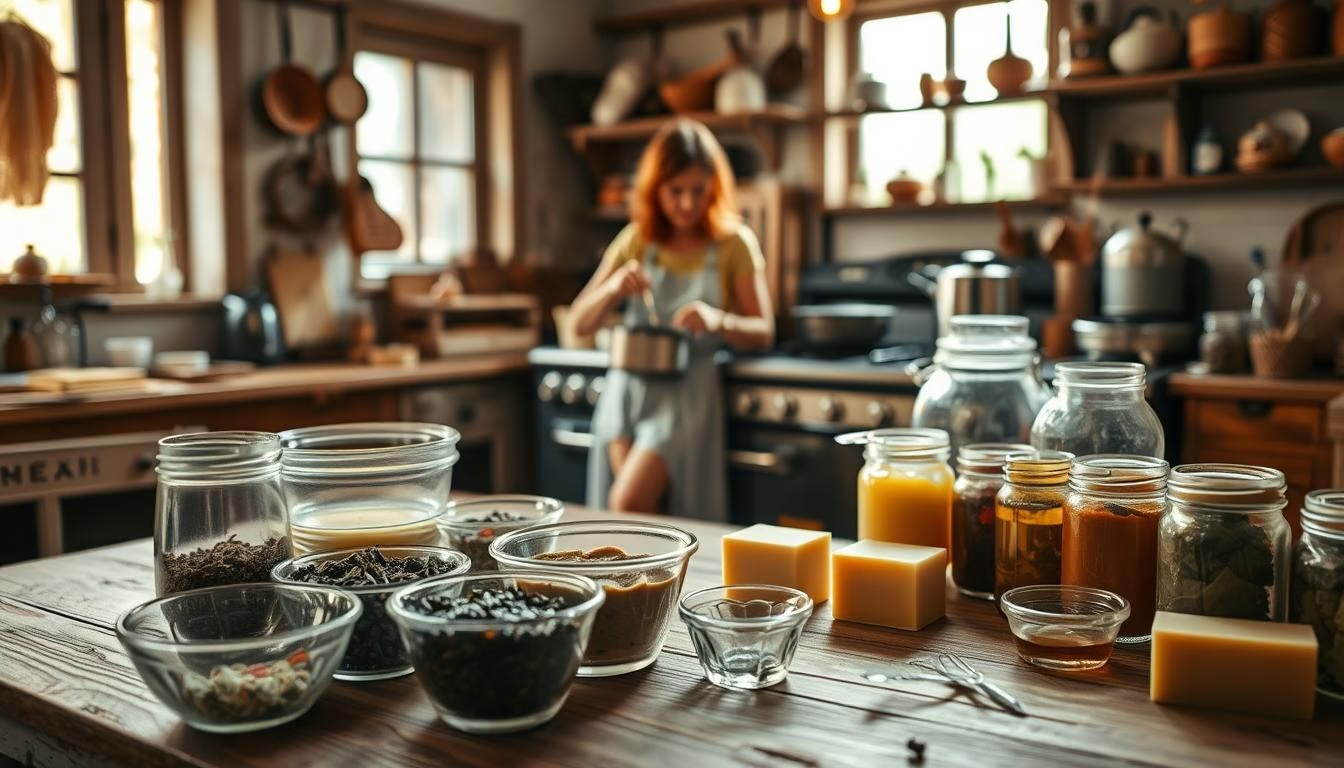
Gathering Ingredients and Tools
Preparing the right ingredients and tools is the first step toward crafting your own soap. A successful batch starts with precise measurements and high-quality materials. For the cold process method, you’ll need specific oils, lye, and distilled water. Common choices include coconut oil, olive oil, and palm oil, each contributing unique properties to the final product.

Accurate scales are essential for measuring ingredients like lye and oils. Use heat-safe containers for mixing, and ensure all tools are dedicated to soapmaking. This prevents contamination and ensures safety. An immersion blender helps achieve the right consistency, while silicone molds give your soap its shape.
Safety gear is non-negotiable. Gloves, goggles, and long sleeves protect you from lye solution, which can be hazardous. Work in a well-ventilated area, like near an open window, to avoid inhaling fumes. Proper preparation at this stage sets the foundation for a smooth process.
Here’s a quick checklist of what you’ll need:
– Oils: Coconut oil, olive oil, and palm oil.
– Lye: Food-grade sodium hydroxide.
– Distilled water: For the lye solution.
– Tools: Immersion blender, silicone molds, heat-safe containers.
– Safety gear: Gloves, goggles, long sleeves.
With everything in place, you’re ready to move on to the next step. A well-prepared workspace ensures a seamless and enjoyable soapmaking experience.
Cold Process Method: How to Make Homemade Soap
Crafting soap through the cold process method is both an art and a science. This technique involves a chemical reaction between lye and oils, resulting in bars that are both functional and beautiful. Start by heating your oils, including coconut oil, to a temperature between 80-100°F.

Next, prepare the lye solution by carefully adding lye to distilled water. Always pour lye into water, never the reverse, to avoid dangerous reactions. Allow the solution to cool to the same temperature range as your oils. This ensures a smooth blending process.
Combine the cooled lye solution with your oils, stirring with an immersion blender. The mixture will thicken, reaching the “trace” stage. This is when it briefly holds a pattern, indicating that saponification is underway. At this point, you can add essential oils for fragrance.
Pour the mixture into a mold and let it set for 24-36 hours. After unmolding, cut the soap into bars and cure it in a cool, dry place for at least four weeks. This ensures a mild and pleasant final product.
Safety is crucial throughout the process. Always wear gloves and goggles when handling lye. Work in a well-ventilated area to avoid inhaling fumes. With patience and precision, you’ll create soap that’s uniquely yours.
=> How to Survive When Stores Are Empty (Video)
Step-by-Step Soap Making Process
Crafting your own soap is a rewarding process that combines precision and creativity. Start by preparing the lye solution. Carefully add lye to distilled water in a heat-safe container. Always pour lye into water, never the reverse, to avoid dangerous reactions. The mixture will heat up quickly, so let it cool to 80-100°F.
While the lye solution cools, melt your chosen oils, such as coconut or olive oil, in a separate pot. Ensure the oils reach the same temperature range as the lye solution. This step is crucial for a smooth blending process.

Combine the cooled lye solution with the melted oils. Use an immersion blender to mix until the batter reaches “trace.” This is when the mixture thickens and leaves a visible pattern when lifted. Achieving trace ensures the saponification process has begun.
At this stage, add essential oils or fragrances if desired. Pour the mixture into a lined mold, tapping it gently to remove air bubbles. Cover the mold with plastic wrap or a towel to retain heat, which aids saponification.
After 24-36 hours, unmold the soap and cut it into even bars. Let the bars cure in a cool, dry place for 4-6 weeks. This curing time ensures the soap hardens and becomes mild for use. With patience and care, you’ll create beautiful, functional bars tailored to your preferences.
Safety Guidelines and Best Practices
Safety is the cornerstone of any successful soap crafting experience. Working with lye and hot mixtures requires careful attention to detail. Always add lye to water, never the reverse, to prevent dangerous chemical reactions. This simple step ensures a safe start to your soap making process.
Protective gear is non-negotiable. Wear gloves, safety goggles, and long sleeves to shield your skin and eyes. A well-ventilated workspace is essential, especially when mixing the lye solution. If possible, work near an open window or outdoors to avoid inhaling fumes.
Keep your soap making tools separate from kitchen utensils. Cross-contamination can lead to unintended risks. Dedicate specific containers, molds, and immersion blenders for your craft. This ensures a clean and safe environment for every batch.
Children and pets should stay away during the process. Store all ingredients, especially lye, out of reach. After completing your soap recipe, clean your workspace thoroughly. Proper cleanup prevents accidents and prepares you for the next project.
By following these guidelines, you’ll create a secure and enjoyable soap making experience. Safety ensures that every batch is not only beautiful but also safe for use.
Related: Forgotten Pioneer Survival Skills That Could Save Your Life Today
Creative Variations and Customizing Your Recipe
Experimenting with your soap recipe opens up a world of creativity and personalization. Once you’ve mastered the basics, you can explore endless ways to make each bar unique. Start by blending different essential oils for custom scents. Lavender, eucalyptus, and citrus oils are popular choices that add both fragrance and skin benefits.
Natural colorants like clays, spices, or botanicals can transform the look of your soap. For example, turmeric adds a warm yellow hue, while spirulina creates a rich green. Adding dried herbs or poppy seeds not only enhances texture but also provides gentle exfoliation.
Adjusting the oil ratios in your recipe can change the properties of your soap. More coconut oil increases lather, while olive oil boosts moisturizing qualities. Experiment with small changes to find the perfect balance for your needs.
Additives like oatmeal, honey, or herbs can elevate your soap’s skin benefits. Oatmeal soothes irritation, honey adds moisture, and herbs like chamomile offer calming effects. These ingredients also add visual interest to your finished bars.
For a unique touch, try using silicone molds in different shapes and patterns. From geometric designs to floral imprints, molds allow you to create soap that’s as beautiful as it is functional. The creative possibilities are endless, making each batch a reflection of your style.
Conclusion
Mastering the art of crafting your own soap is a journey that blends creativity, precision, and practicality. By gathering quality ingredients and tools, you set the foundation for success. The cold process method, with its careful balance of lye and oils, ensures a smooth and effective process.
Safety remains a top priority. Always measure lye accurately and handle hot mixtures with care. Protective gear, like gloves and goggles, is essential. Working in a well-ventilated area ensures a secure environment for every batch.
Customizing your soap recipe adds a personal touch. Experiment with essential oils, natural colorants, and unique molds to create bars that reflect your style. Each bar becomes a testament to your creativity and skill.
This craft not only enhances self-sufficiency but also offers a rewarding way to connect with tradition. Share your creations with loved ones and continue exploring new recipes. The possibilities are endless, making every batch a new adventure.